


















In Australia, a ceiling fan that is wired into your home's electrical circuit must be installed by a licensed electrician, who will connect it, fix it to a secure structural support and certify the work. Your part is to choose the right fan, size, mount and controls before they arrive, so the job is done once and done properly. This checklist covers what to measure, what to buy and what to ask.
We cover sizing and high ceilings in separate guides, linked below, so this one focuses on the installation itself: height, support, mounting, wiring and controls.
Can I install a ceiling fan myself?
Not the electrical part. Connecting a ceiling fan to your wiring is electrical work, and in every Australian state and territory that must be done by a licensed electrician. Many fan accessories say the same on their product pages; the Hunter Pacific Evolve light kit's page, for example, states that all accessories must be installed by a licensed and qualified electrician unless otherwise stated.
What you can do yourself is the planning: measuring the room and ceiling, choosing the fan and accessories, deciding where the controls go, and checking that every part has arrived before the electrician's visit. That preparation is what makes the installation go smoothly.
Step 1: Measure the room and the ceiling
Room size. Measure the floor area of the space the fan will serve. Our guide to what size ceiling fan you need matches blade span to room size.
Ceiling height. Measure from the floor to the ceiling at the exact spot the fan will hang. This decides whether the fan can be close-mounted or needs a downrod.
Ceiling shape. A flat ceiling is straightforward. A raked or sloped ceiling needs a mount that lets the fan hang vertically, and has a maximum angle. Our guide to ceiling fans for high and sloped ceilings explains downrods and angled mounts in detail.
Distance to walls and obstacles. Check the space around the fan position, including cupboard doors, bulkheads, pendant lights and anything tall in the room.
Step 2: Check blade height and clearances
Every fan manual sets a minimum height from the floor to the blades, and a minimum distance from the blade tips to walls. These figures come from the manufacturer for each model, and your electrician will check them on site. Two examples from our product pages show the kind of figures to look for:
- The Eglo Bondi 48 inch lists a minimum installation height of 2.1 m from the floor to the blades, and a ceiling-to-blades measurement of 285 mm.
- The Domus STRIKE 52 inch page says to allow at least 500 mm from the blade tip to any wall, and at least 2.1 m from the blade to the floor.
Use your own fan's figures, not these. Add the ceiling-to-blades measurement to the minimum blade height and compare it with your ceiling height. If the numbers are tight, a flush or low-profile fan may be the better choice; if your ceiling is high, a downrod can lower the fan to where it moves more air.
Step 3: Plan the support and the mount
Secure fixing. A ceiling fan is a heavy, moving appliance, and it must hang from a secure structural support, never from plasterboard alone. Where there is no suitable joist at the right spot, your electrician may need to add a brace or noggin. If the fan is going where a light fitting is now, tell your electrician, because a light's fixing is not necessarily strong enough for a fan.
Raked ceilings. Angled ceiling kits are model-specific. The Hunter Pacific angled ceiling kit suits Hunter Pacific fans with 26 mm downrods on ceilings up to 38 degrees, and its page notes that the Aqua fan loses its IP66 rating when used with it. Domus offers a 38 degree ceiling mount kit for its own fans, and its page asks you to confirm the fan model and ceiling angle before ordering.
Downrods. Downrods are also made for particular fans, with set diameters and lengths. The Brilliant 900 mm extension rod, for example, is listed to suit the Bahama fan. Browse ceiling fan downrods and check the compatibility list on each one before you order.
Step 4: Decide on controls and wiring
Decide how you want to control the fan before the electrician arrives, because it affects the wiring.
- Remote only. Many DC fans ship with a remote. The electrician still wires the fan to a switched supply.
- Wall controller. Some wall controllers need their own wiring. The Brilliant DC fan wall controller fits most wall switch holes and needs 220 to 240 V power, with a separate isolation wire to the fan, so it needs to be planned in.
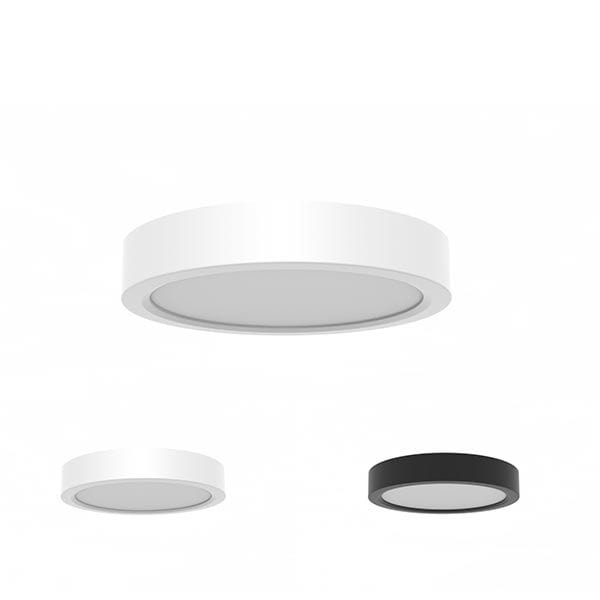
- Light kit. If you might want a light later, choose a fan that accepts a light kit and consider fitting it during installation.
- Smart control. Some fans accept a Wi-Fi or app module. Check whether it fits inside the fan or needs to be installed at the same time.
Controllers, light kits and smart modules are all in our fan accessories range, and each is listed with the fans it suits.
Step 5: Outdoor and damp locations
For an alfresco, verandah or a bathroom, choose a fan rated for that location and check its IP rating. Your electrician will confirm whether the position is suitable, and in a bathroom will apply the wiring zones around the bath and shower. Remember that some accessories change a fan's rating, as the Hunter Pacific angled kit shows.
Your installation-day checklist
- The fan, blades, canopy and any light kit have arrived and match your order.
- The downrod or angled mount suits your fan model and ceiling.
- You know the ceiling height and the fan's minimum blade height from its manual.
- You have chosen remote, wall controller or both, and know where the controller will go.
- Your electrician knows whether the fan replaces a light fitting or needs a new point.
- The manual is on hand. Keep it afterwards for the warranty and for ordering parts later.
Wait until the goods have arrived before booking your electrician, as delivery times can vary.
After installation
Run the fan through every speed and check it runs smoothly. A slight wobble can often be corrected by balancing the blades, and your electrician can check the mount. Set the direction for the season, and file the model number somewhere safe so you can find replacement parts later. When you are ready to choose, browse the full range of ceiling fans.
Frequently asked questions
Can I install a ceiling fan myself in Australia?
No. Connecting a fan to your electrical wiring must be done by a licensed electrician. You can plan the job, choose the fan and accessories, and have everything ready for them.
How high does a ceiling fan need to be from the floor?
Each fan's manual sets a minimum blade height. Some of our fans list 2.1 m from the floor to the blades, but always follow your own fan's figure and your electrician's advice.
Can I put a ceiling fan where a light is now?
Often, yes, but the existing fixing may not be strong enough to hold a fan. Your electrician will check the support and add a brace if needed.
Do I need a downrod?
Only if your ceiling is high enough that a close-mounted fan would sit too far above the room, or if your ceiling is sloped. Downrods are model-specific, so choose one listed for your fan.
Can a ceiling fan go on a sloped ceiling?
Yes, with a mount designed for it. Angled kits have a maximum ceiling angle, often stated on the product page, so measure the pitch at the fan position before ordering.
What should I have ready for my electrician?
The fan and all its parts, the manual, your ceiling height, your choice of controls and where they go, and any downrod or angled mount. Having these ready keeps the visit short.
Get your fan right first time
At Lights For You, our Ashfield showroom team in Sydney can help you and your electrician match a fan with the right downrods, mounts and controls, so ask us before you book the install.